It’s your product, package it properly.” That’s our motto here at StandUpPouches.Net and we’re here to help see it through. In order to ensure the packaging process runs as efficiently as possible, there are some things you need to be aware of on your end. One issue that occasionally comes into play deals with the barcode. What you need to know about barcodes, layout size, font, location, and pouch placement is provided in the resources listed below.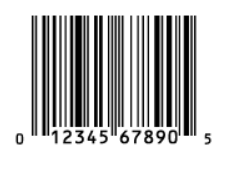
For starters, this website is a great resource for barcode questions and concerns. It highlights the different types of barcodes, explains the UPC number, and presents the anatomy of a UPC symbol in a clear and concise manner. It’s the perfect web page to get you acclimated with barcode information including UPC sizing requirements, coupon codes, and potential limitations. Check it out.
Next, familiarize yourself with barcode tips, terminology, and printing suggestions here. One issue in particular that often arises in the Artwork step of Our Process is a term called truncation. This is where the barcode symbol is actually shortened in height. This makes scanning much more difficult because of the way it effects UPC symbols. To avoid unnecessary fees and the possibility of scanning issues, it is best to avoid truncation if possible.
How to lay out a barcode at Stand Up Pouches in terms of size, font, and location:
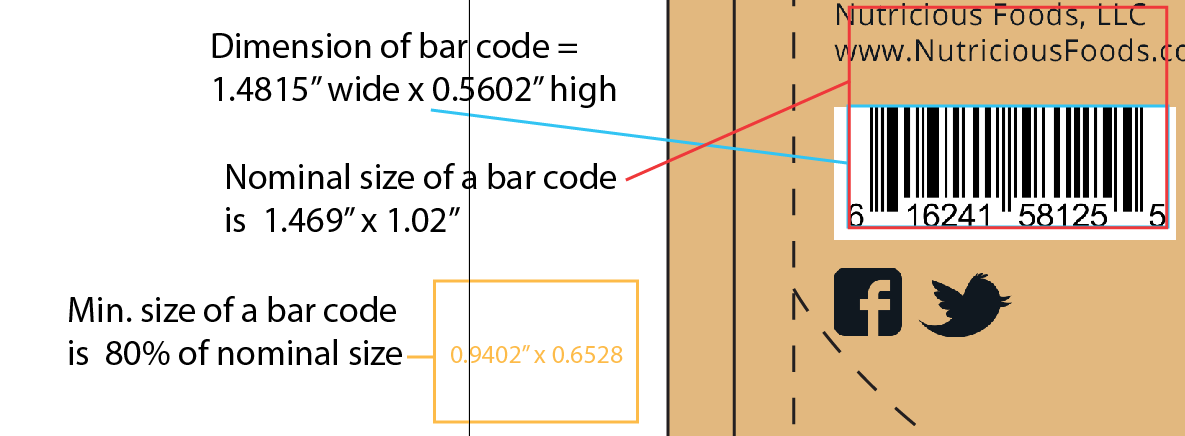
As long as you provide the complete UPC number and put a UPC placeholder on your artwork file, our plant can generate and test your specific barcode.
Issues involving the barcode on your product pouch can be easily avoided if you know the information and requirements ahead of time. Our goal is to get your product packaged properly and correctly from top to bottom – including the barcode!
For more information: Examples of scannable and non-scannable barcode color combos.


